Basic Smoked Spare/Meaty Ribs Technique-Wet

This post may contain affiliate links. As an Amazon Associate I earn from qualifying purchases.
Here’s my basic technique for smoking spare/meaty ribs. We’re going to go straight into the cook here, so I’m assuming you know some of the prep stuff?
Membrane removal, a bit of trimming if you like, square off the ends to remove sharp bones.
This guide is for wet style ribs, so we’re going to be wrapping and saucing these ribs
First thing, forget time and temp!
This technique is about look and feel. You won’t need your thermometer here!
1
Rack30
minutes3
hours1.5
hours15
minuts5
hours15
minutesThis guide is for wet style ribs, so we’re going to be wrapping and saucing these ribs
First thing, forget time and temp!
This technique is about look and feel. You won’t need your thermometer here!
Keep the screen of your device on
Ingredients
1 1 Rack Spare/Meaty Ribs
Rub of your choice
BBQ Sauce of your choice
Mustard, Hot Sauce or Oil
Soft Light Brown Sugar
Runny Honey
OSU or any other tasty wet stuff
Wood Chunks for Smoking
Directions
- So I’m assuming the membrane has been removed, excess fat & silverskin trimmed and the sharp bones at the ends have been removed.

- For this cook I’m going to be using R-Butts-R-Smokin’ ‘Ozark Heat’ BBQ Rub and House of Q Apple Butter. Both fantastic products, and they go amazingly together, but you can either make your own rub and sauce or use what ever you like here.
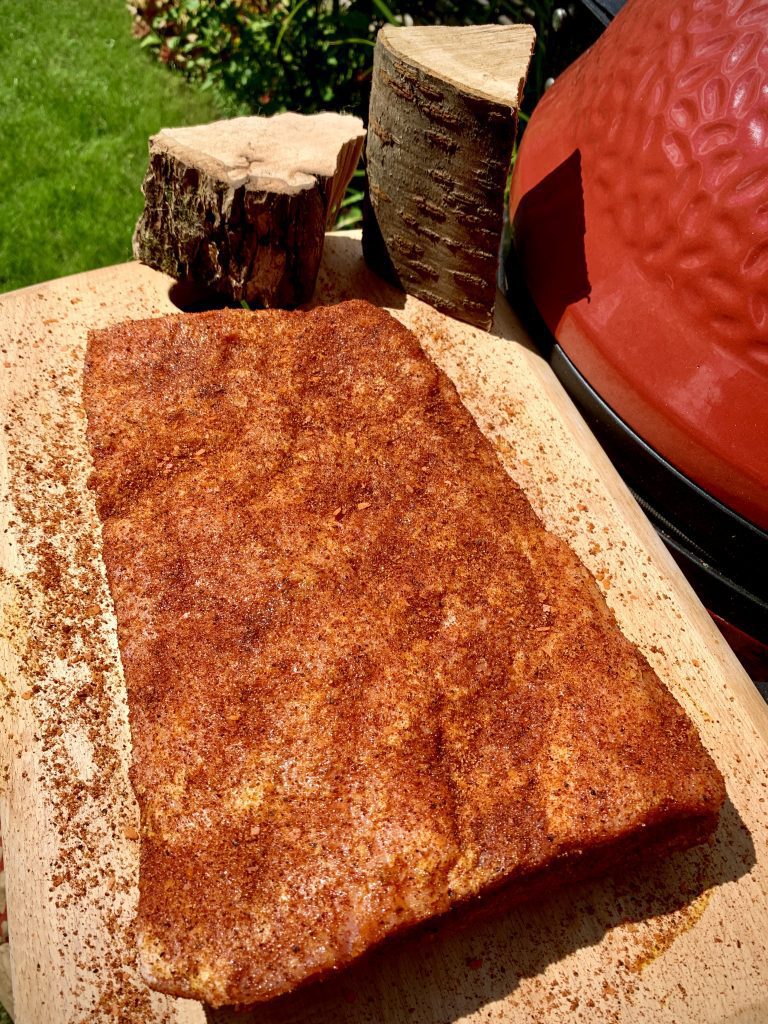
- Let’s start by adding a binder that will help the rub adhere to the ribs.
Meat side down, slather a little mustard, hot sauce or simply cooking oil over the bone side of the meat and rub it in all over.
Then generously sprinkle your rub all over that side, not forgetting the edges.
Note, don’t actually rub the rub! Using a Rub Shaker here will distribute the rub much more evenly than rubbing it in. you can pat it.
Leave it for a few minutes to set.Loading gallery media… - Once the rub has set a bit, you’ll know this as it will turn a couple of shades darker and look slightly wet. Turn your ribs over, bone side down and repeat with the binder and rub for the meat side.
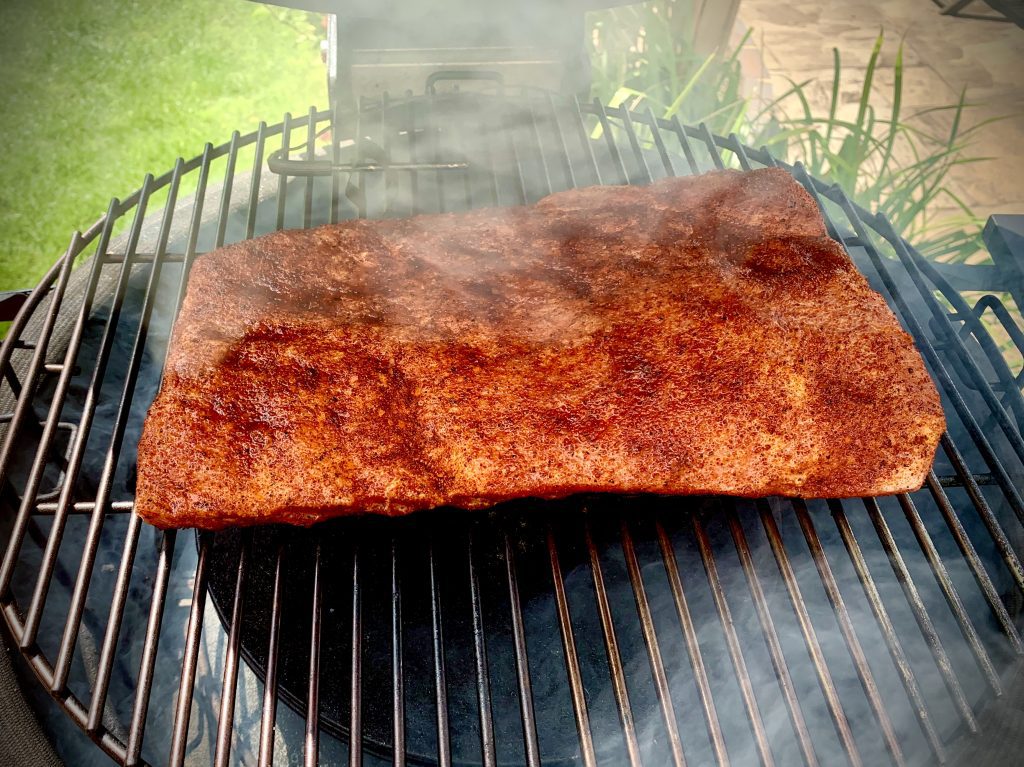
- Ok ribs prepped and rub setting, set up your BBQ for indirect cooking, and heat to around 135°C/275°F.
When smoking on a BBQ/Kamado that isn’t automatically controlled, i’s best to cook within a range rather than an exact temperature.
So if you’re using an ambient temperature probe, it would be best to set it to a range between 130°C to 140°C or 265°F to 285°F. - Chuck on your wood chunks, I love a mix of Cherry wood and Pecan wood for pork ribs but use what you like.

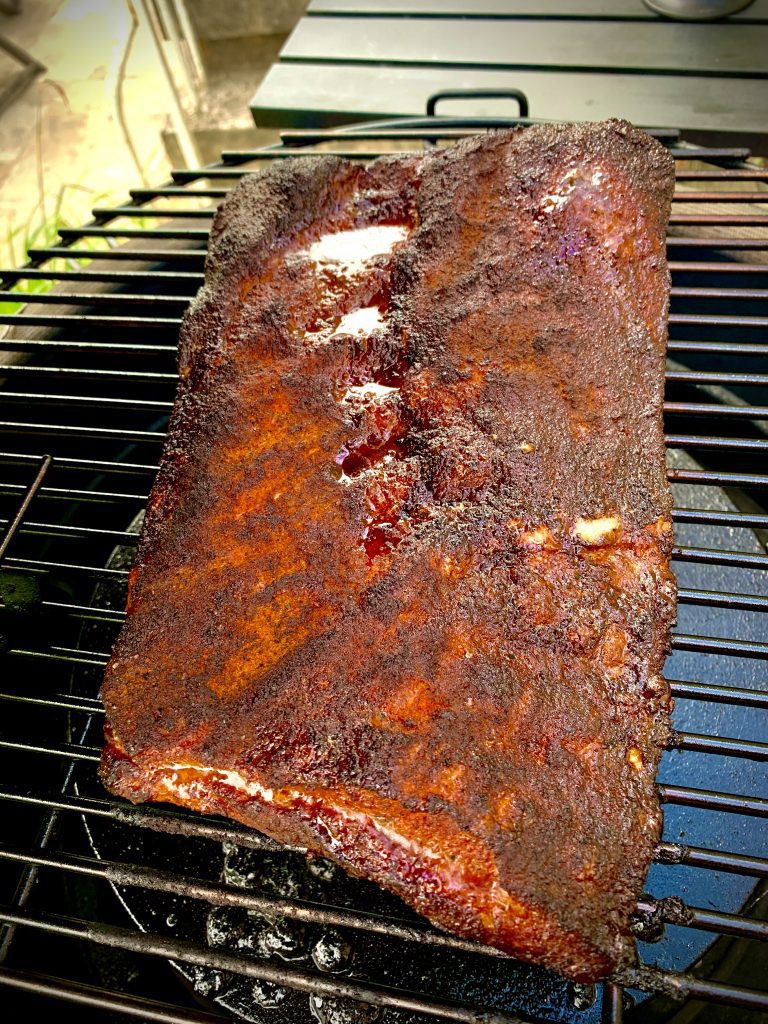
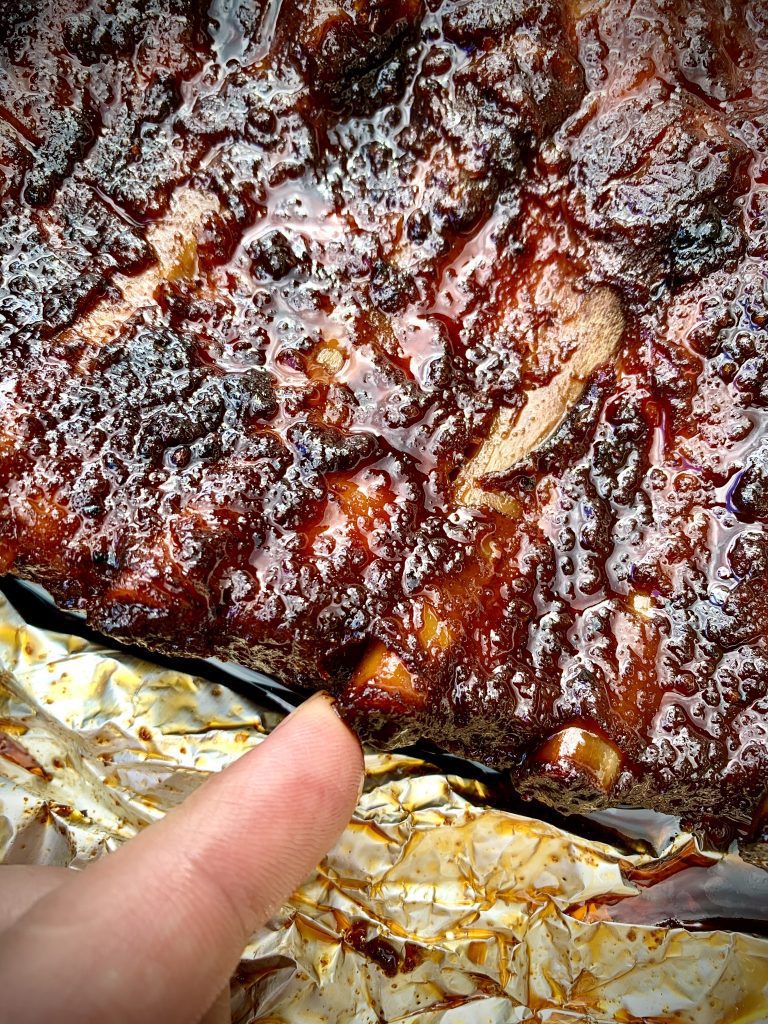
- Smoke bone side down for about 2 1/2 to 3 1/2 hours.
You’re looking for a nice dark mahogany coloured bark before you remove. - Once you’re there get 2 sheets of thick foil laid out, sprinkle a layer of soft light brown sugar onto the foil roughly the size of the ribs, then drizzle some runny honey on top.
- Place the ribs meat side down onto the sugar and sprinkle and drizzle some more sugar and honey onto the bone side. I also added a drizzle of OSU (an apple concentrate & cider vinegar mix).
You can add other things here like butter, maple syrup, Dr Pepper, pineapple juice or what ever? But sugar, honey and OSU is what I’m using here.
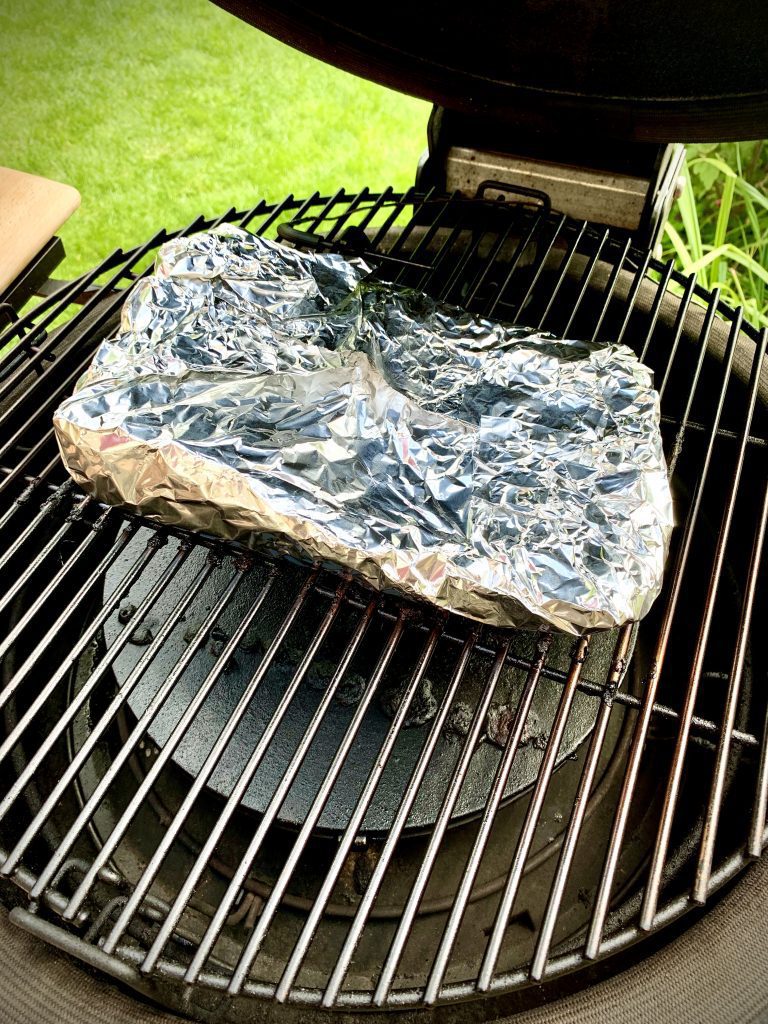
- Tightly wrap the ribs with both sheets of foil taking care not to puncture with any bones.
- Now place back in the BBQ meat side down this time.
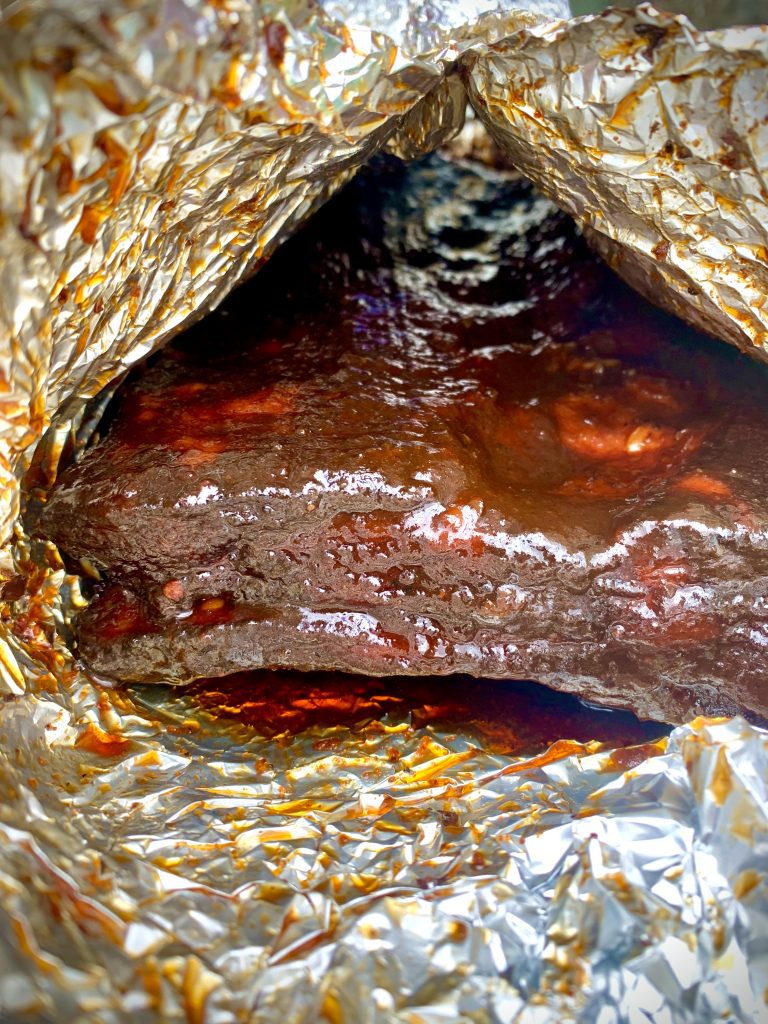
After about an hour you’re going to want to start checking for doneness. - Ok remove the ribs from the BBQ to a board and carefully open the foil, the first thing you want to look at is the bones, give one of the middle ones a wiggle to see if there is a little freedom. Next turn the rack over (meat side up) and gently lift it up right in the middle, the rack should bend so that both ends stay on the board and the meat in the middle starts to crack open.
- If when you lift, the ends come off the board it needs a little longer. Turn it back over, wrap it back up and throw it back in for another 20-30 minutes and then check again. (This part will get easier with experience).
- If when you lift, it totally falls apart you’ve over done it and might as well done the 3-2-1 😂Loading gallery media…
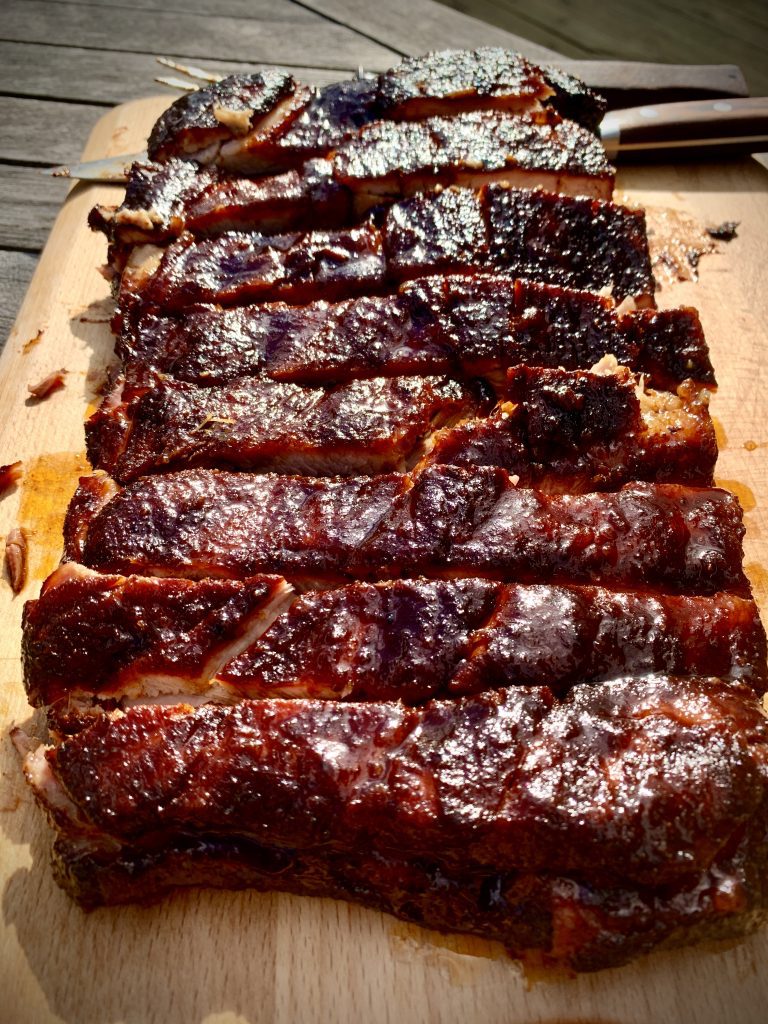
- Ok let’s say you’ve pulled your ribs at the right time, this is called competition done. They should be tender, juicy and succulent but NOT falling off the bone. When you take a bite you should have a perfect bite mark left in the rib.
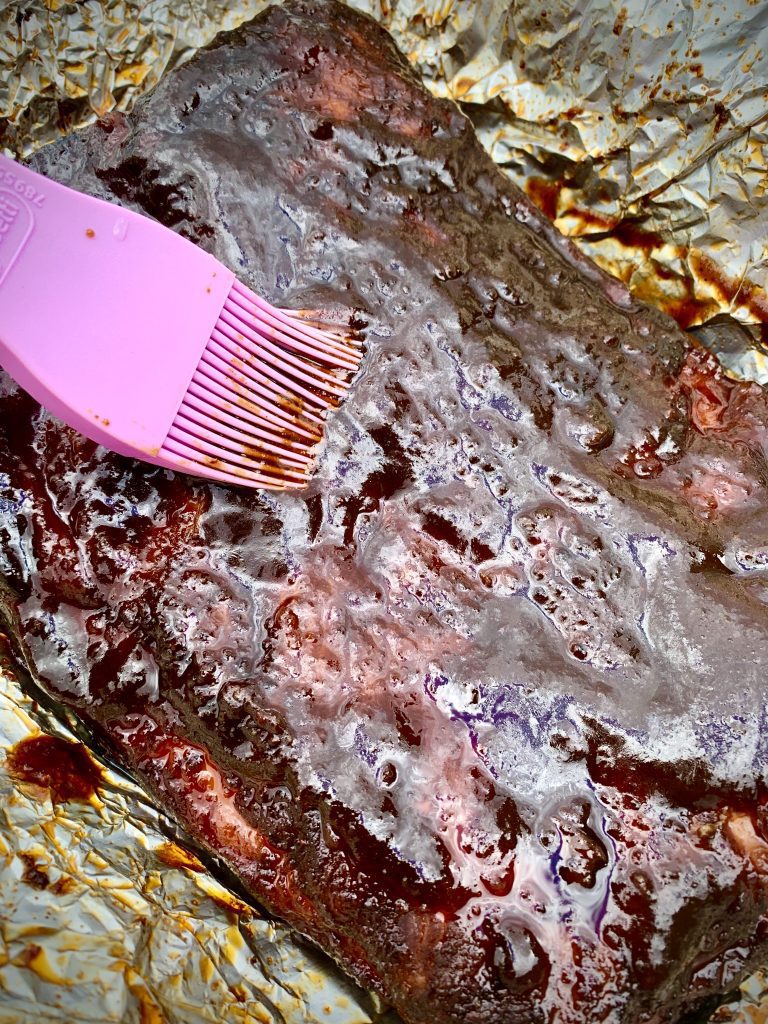
- Now it’s time to sauce, use what ever you like or have to hand here, I’m using House of Q Apple Butter, which if you like apples, you’ll love this! The first ingredient is apples.
If I’m looking for an extra sticky shine, I like to use a 50/50 mix BBQ sauce and Rib Glaze. - Still in the foil brush the sauce all over your hot ribs and then tent the foil back over.
- Rest in a warm place for about 10-15 minutes while the sauce/glaze sets.Loading gallery media…
- Slice and serve!


Recipe Video
What I Used For This Recipe


Did you make this recipe?
Tag @kamadoboom on Instagram and hashtag it #cookingonfire
Like this recipe?
Follow us @kamadoboom on Pinterest
Did you make this recipe?
Follow us on Facebook